
- Visit LIPSedge™ SDK website.
- Under LIPSedge™ Camera SDK, select SDK file to download the installation file based on the preferred version, framework, and compatible operating system.
- Extract and execute the downloaded file.
- Click Next.
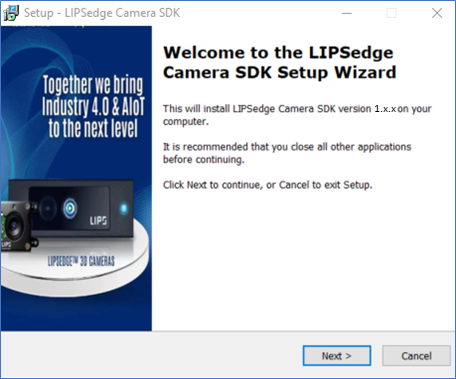
- Click Next.
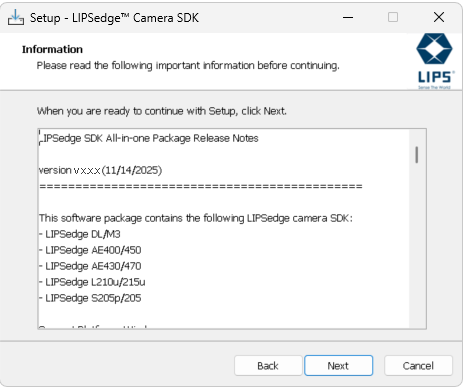
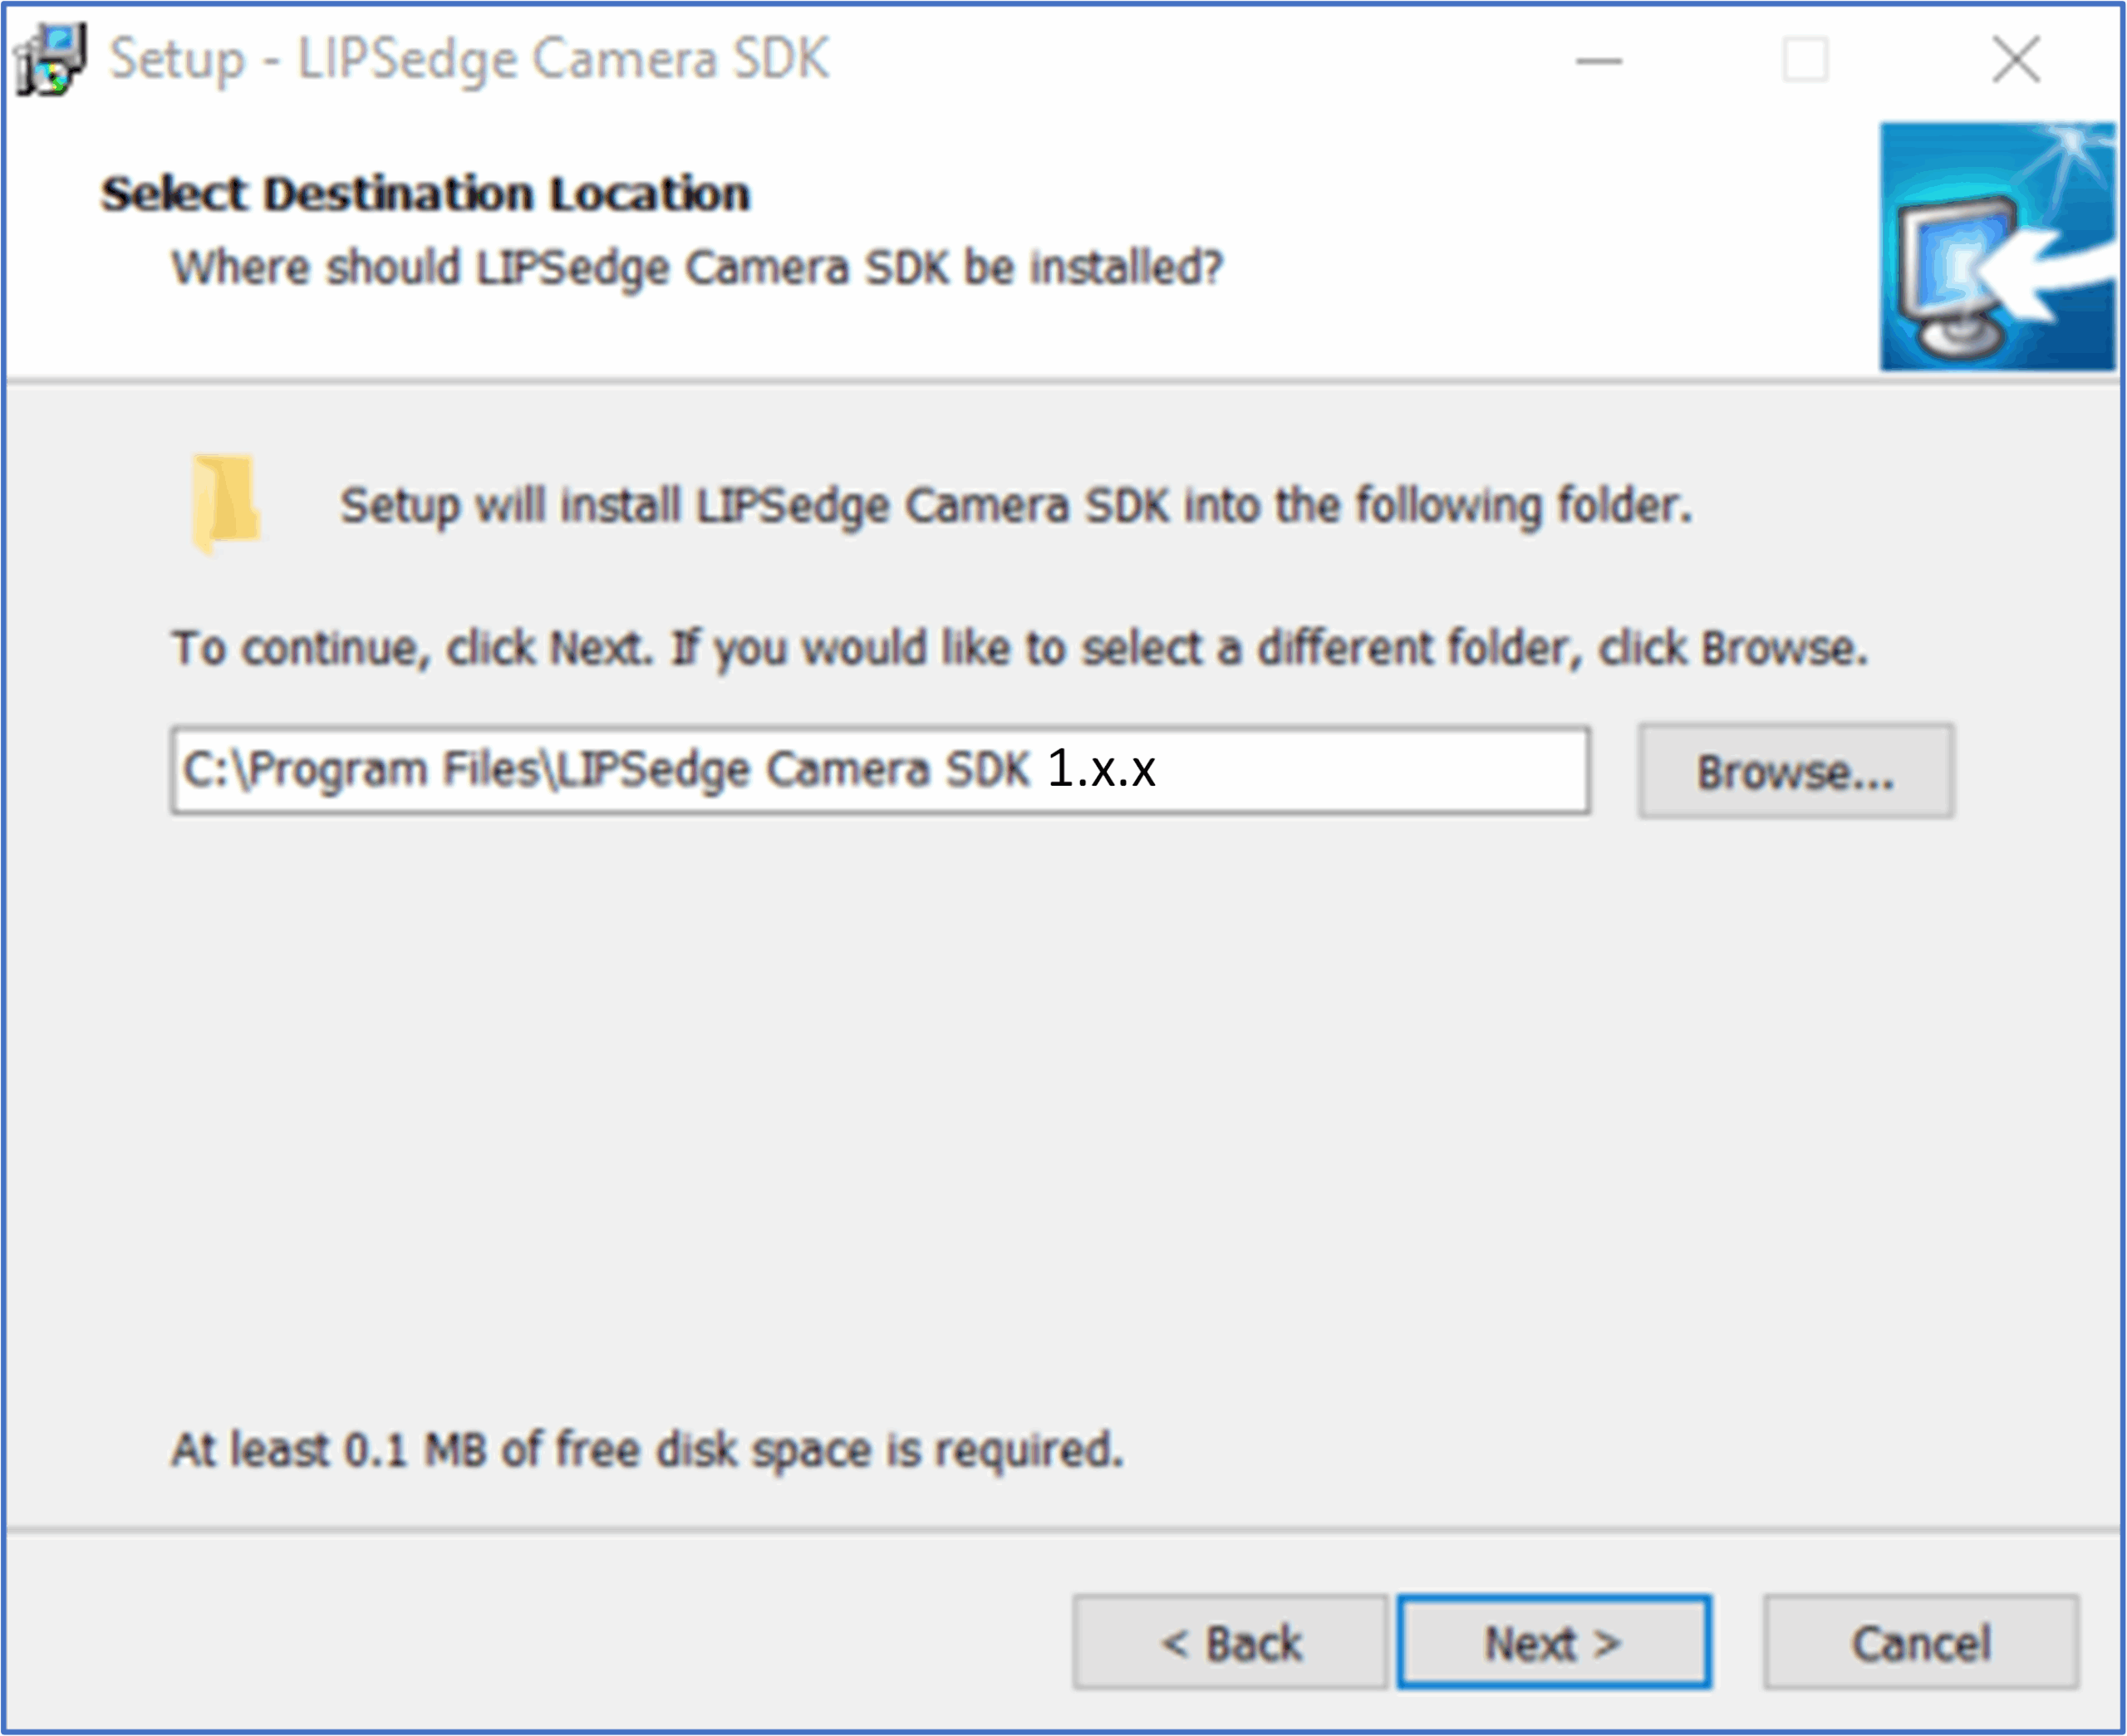
- Select the SDK installation location and click Next.
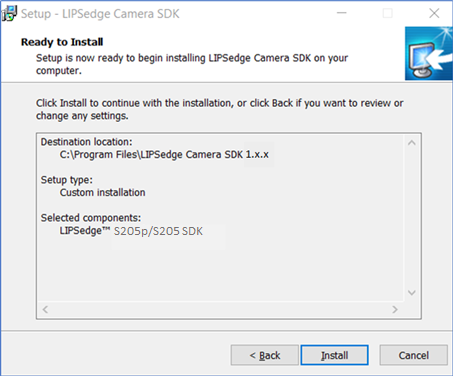
- From the top menu, select the type of installation for the host PC. In this case, Selecting Custom Installation > LIPSedge™ S205 SDK is recommended.
–Full Installation: Install all LIPSedge™ SDKs with all system dependencies for all available LIPSedge™ camera models.
–Compact Installations: Install LIPSedge™ SDK with minimum system dependencies for the chosen model.
–Custom Installation: Install LIPSedge™ SDK with limited functionality for the chosen model.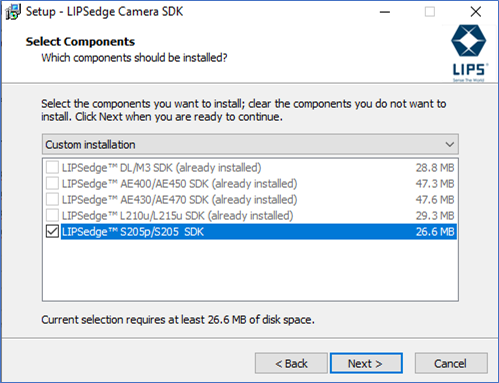
- Click Install.
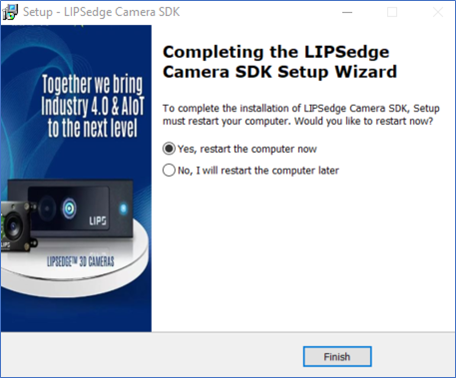
- Click Finish.
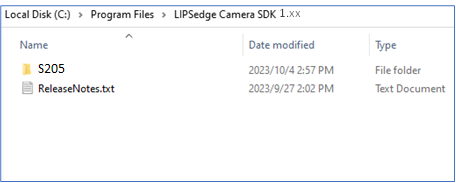
- Once the installation is successful, the LIPSedge™ SDK and its relevant components is accessible at C:\Program Files\LIPSedge Camera SDK 1.xx.
- To access the camera, begin with finding the LIPSedge-S205.json in LIPSedge™ S205p SDK\OpenNI2\Tools\OpenNI2\Drivers
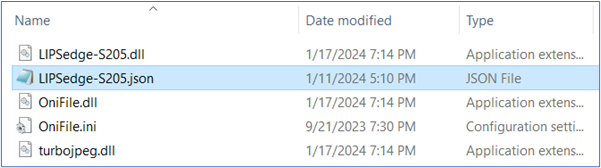
Note: LIPSedge™ S205p is assigned with a default IP address of 192.168.0.100. Make sure the host PC / laptop is under the same subnet as the camera for camera connection.On rare occasions, the application may not be able to detect the camera when a new camera is connected. In that case, unplug the network cable and restart the host PC / laptop and scan again. - Edit network.json to modify the camera’s IP address to match the camera intended for connection.
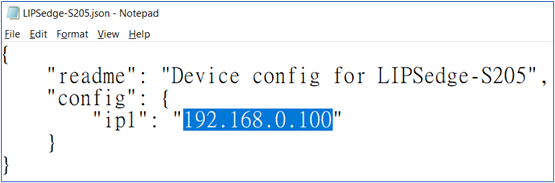
- Save the modified information.
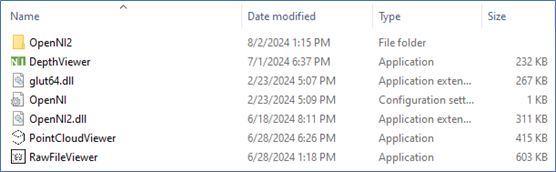
- Go to LIPSedge™ S205p SDK > OpenNI2 > Tools and start DepthViewer.
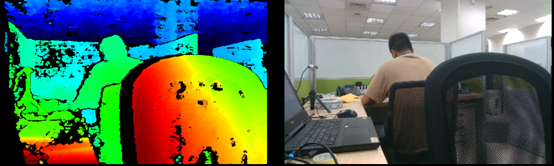
- DepthViewer will display 3D / RGB images once the camera is properly connected.
- There are some handy tools to test your camera.
–CameraParameterVieweer: Access camera’s parameters.
–PointCloudViewer: Camera point cloud view.
Windows
Updated on 2026 年 10 月 16 日